Thursday, November 27, 2014

Simon Says Stamp and My Favorite Things 30% Off Sale

Hi everyone!

Just stopping by to wish my American friends a Happy Thanksgiving! I am thankful for the friendships I have with so many of you.

ThanksgivingSale-03

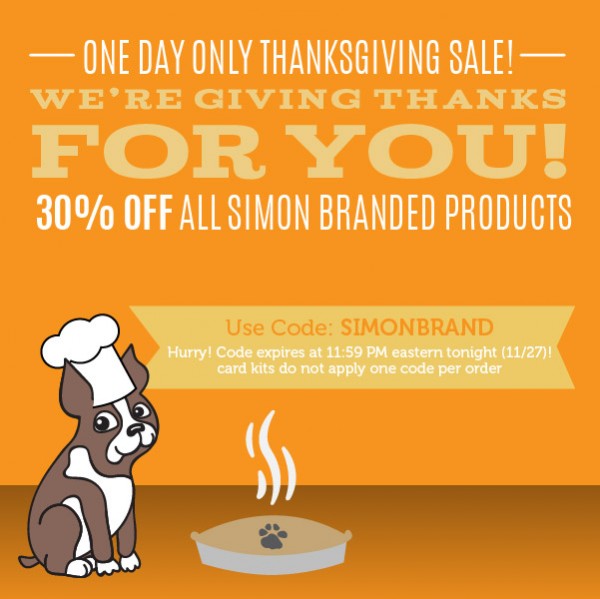
I also just discovered that Simon Says Stamp is having a BIG sale! 30% off all Simon brand products (excluding card kits) TODAY ONLY (Thursday). Use the code 'SIMONBRAND" at checkout.

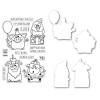
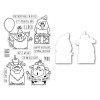
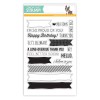
Here are some of my recent favourite Simon Says Stamp products:


As you can probably tell I've been on a bit of a dies kick lately. :)


My Favorite Things is also having a 30% off sale Thursday November 27th (today) until Monday December 1st. Use the code "THANKS" to save storewide (excluding the new November release). If you spend at least $60 after the discounts be sure to add the free die set to your order as well!

Thanks for stopping by and once again, Happy Thanksgiving!
Sarah

Tuesday, November 25, 2014

Simon Says Stamp December Card Kit Blog Hop!

Hi everyone!

I'm popping by today as part of the Simon Says Stamp December Card Kit Blog Hop!


This month's kit is called Winter Twinkle and I love that it revolves around the theme of heat embossing! Heat embossing was actually part of my very first experience with stamping when my mom and I heat embossed the thank you cards we made for my wedding over 15 years ago!

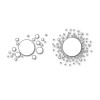
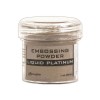
For today's card I decided to take the heat embossing technique and do two different things with it. First, I simply die cut a bunch of circles and heat embossed them with a couple of layers of the embossing powder. Be sure to let it cool off before you press your embossing ink over it the second time or you could ruin your ink pad. (I may speak from experience). ;) Secondly, I heat embossed the largest circle with 3-4 layers of embossing powder and while the powder was still hot I pressed one of the stamps inked with embossing ink into it for about 10 seconds to create a faux wax seal. If you try this and it doesn't work the first time, just add another layer of powder and heat and it should all melt evenly again before you press you stamp in again. :)


In case you're interested, here are a few other blog posted where I share cards with interesting heat embossed techniques:

In THIS post I share a card where I heat embossed with glitter.

HERE is another card where I used the faux seal technique...and ANOTHER one.

THIS card shows more heat embossed shapes and a multi-colored heat embossed background.

HERE I clear embossed stamped letters on patterned paper and cut them out.


Supplies:


Here is the full list of blog hop participants:

Lucy Abrams
Sarah Moerman - YOU ARE HERE!

Before you go, I want to mention that Simon Says Stamp is giving away a Simon Says Stamp grab bag loaded with fun products at EVERY stop on the hop! All you have to do is leave a comment by 6 pm EST on Saturday, November 29. Winners will be posted on the Simon Says Stamp Blog Sunday, November 30th.


This is your final stop on the blog hop!
Thanks so much for stopping by!
Sarah

Saturday, November 22, 2014

Simon Says Stamp In Stitches Card Set (and December Card Kit WINNER)

Hi everyone,

Happy Saturday! I'm stopping by today to share an easy card set I made using the Stitched Rectangles Dies from the new Simon Says Stamp In Stitches release...and to announce the Simon Says Stamp December Card Kit winner.

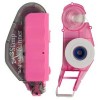
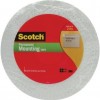
Before I get to that though, I had a question about how I used the foam adhesive to make my shaker elements on THESE cards. I've updated the information at the bottom of that post.

I love making die cut backgrounds but hate when there are little wasted pieces of cardstock. (Yes, I'm THAT crafter, lol). I'm happy to say there was VERY little cardstock wasted in the making of these cards. Yay!

All of the new shaped Stitches dies from Simon come with the dies all still attached to each other so the spacing between them is perfectly straight and even. (I'm very tempted to leave them this way...at least for a while). Because of this, I was able to quickly and easily run 6 different colours of 4.25" by 5.5" cardstock through my diecut machine and end up with all the pieces necessary to make this card set:


I went through all my Simon Says Stamp stamp sets and picked various sentiments that fit nicely in the center rectangle. I white heat embossed the sentiments and assembled the cards starting with the largest diecuts so everything would be perfectly centered.

I love making card sets as hostess gifts and think non-bulky cards work best for these sets. Having all these little rainbows on my table sure cheered me up and I'm planning on making some more in different shades of single colours to create an ombre effect.


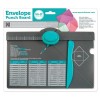
Finally, I made a little gift box for the cards using my We R Memory Keepers Envelope Punch Board and the instructions Jennifer McGuire provides HERE.


Finally, I tied it all up with some baker's twine from The Twinery.


Supplies:


Now on to the winner of the Simon Says Stamp December Card Kit. Congratulations to

Blogger Michele Clay who said...
A classy card, Sarah! I would like to copy it for a masculine BD card, but I think it would make a great feminine card, as well as a teen card! You showcased the SSS kit perfectly! Thanks!
November 17, 2014 at 7:42 PM
 Delete

Michele, please email me through my sidebar with your mailing info so I can pass it on to the good folks at Simon Says Stamp.

Thank so much for stopping by! Enjoy your weekend!
Sarah