Monday, January 29, 2018

Ombre Diecut Inlay & Simon Says Stamp February Card Kit Winner

Hi everyone,

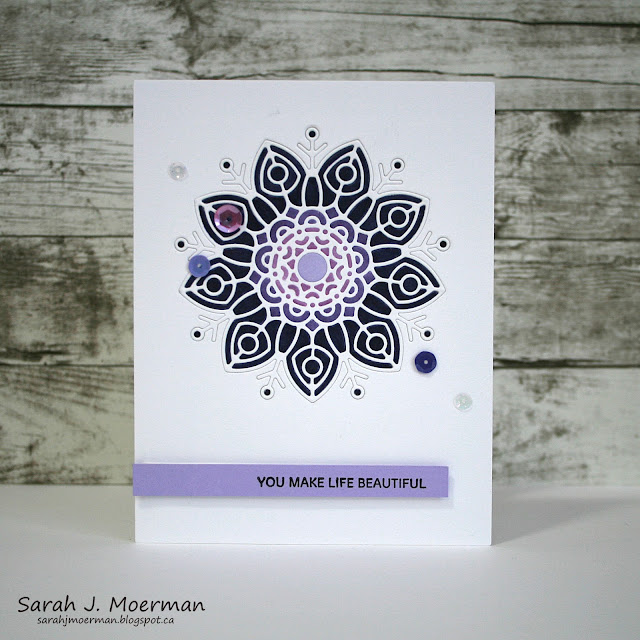
Today I'm sharing a couple of cards made using the Simon Says Stamp Felicity Snowflake Die. I love that this die isn't as obvious a snowflake as many snowflake dies are. It gives it much more flexibility of use.


For both of these cards, I diecut the Felicity Die from 4 1/4" x 5 1/2" pieces of Neenah Solar White Cardstock. I placed some Stick It on the fronts of a couple of notecards and adhered the large negative space backgrounds as well as the snowflakes themselves. I then coloured the small negative space pieces with Copics, creating an ombre of colour, and popped the pieces into place. This took some time but I really like the look of it. The sentiments from Simon's You Got This Stamp Set were stamped on coordinating colours of cardstock and adhered with foam tape. Finally, I added some of Lucy's Card Sequins.


Here's a picture of the one I made with shades of purple:


Now for the winner of the Simon Says Stamp February Card Kit...


The winner is....

Blogger Sheri who said...
These patterned papers are so cute! Great way to show them off.
January 21, 2018 at 1:31 AM
 Delete
Congrats Sheri! Please message me via my sidebar with your mailing info so I can pass it on to Simon Says Stamp!

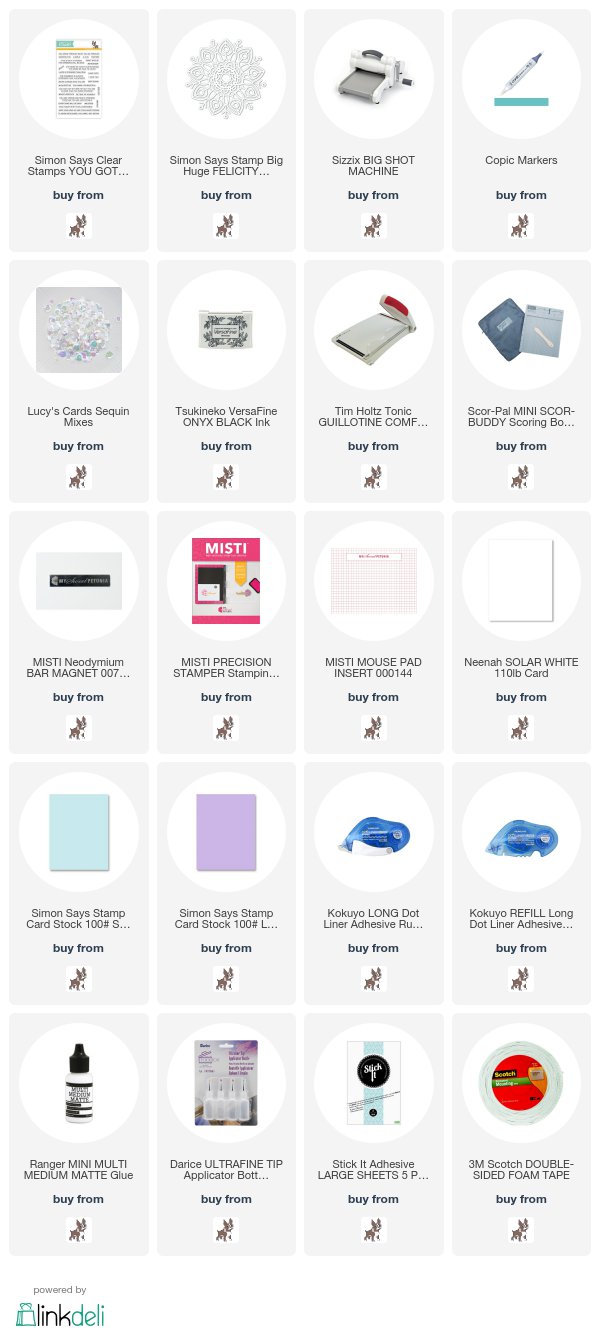
Supplies with affiliate links at no extra cost to you:

Thursday, January 25, 2018

SSS February Card Kit: Handcrafted Hello & SSS Love Release

Hi everyone!

I'm back to share another card featuring the fabulous Simon Says Stamp February Card Kit: A Colorful Crafty Life and also share Simon's newest release "Love" which can be found HERE. This release includes elegant, cute, and punny stamps and dies, a stencil and some new Suzy's Love and Friendship Watercolor Printables.

I'm hoping to order a few things from the new release to play with. In the mean time here's a reminder as to what February's Card Kit includes:


For today's card I made a notecard from Simon's Burnt Orange Cardstock and stamped various images from the Crafty Friend Stamp Set on it using Simon's Sunkist Dye Ink. I white heat embossed the sentiment on the Tim Holtz Distress Watercolor Cardstock and painted the piece with the Daniel Smith watercolors included in the kit (colours listed in supply list below). Once dry, I die cut the panel using one of Simon's Wonky Rectangle Dies. I adhered the panel to the notecard with foam tape and added some of the lovely Studio Katia's Cupid's Kiss Crystals to finish off the card.


If you're interested, you can pick up the Simon Says Stamp February Card Kit for $34.99 + shipping. If you'd like to receive this kit and future kits for $29.99 + shipping per month, you can SUBSCRIBE HERE.

Heidi, owner of Simon Says Stamp, has given me an extra Simon Says Stamp February Card Kit to pass on to one of you! Just leave a comment on any or all of my February 2018 Card Kit posts and I'll announce a winner Monday January 29th.

Thanks for stopping by,
Sarah

Supplies with affiliate links at no extra cost to you:


Thursday, January 18, 2018

SSS February Card Kit: You Make Everythings Colorful & Giveaway

Hi everyone!

I'm back to share another card featuring the fabulous Simon Says Stamp February Card Kit: A Colorful Crafty Life.

For today's card I decided the focus on the beautiful Echo Park I'd Rather Be Crafting 6x6 patterned papers found on the February Card Kit, diecutting them with Simon's new Nested Talk Bubbles Dies. After stamping the sentiment and ahering all the talk bubbles to the card front I added some of the lovely Studio Katia's Cupid's Kiss Crystals.


If you're interested, you can pick up the Simon Says Stamp February Card Kit for $34.99 + shipping. If you'd like to receive this kit and future kits for $29.99 + shipping per month, you can SUBSCRIBE HERE.

Heidi, owner of Simon Says Stamp, has given me an extra Simon Says Stamp February Card Kit to pass on to one of you! Just leave a comment on any or all of my February 2018 Card Kit posts and I'll announce a winner Monday January 29th.

Thanks for stopping by,
Sarah

Supplies with affiliate links at no extra cost to you:

Sunday, January 14, 2018

Simon Says Stamp February Card Kit Reveal & GIVEAWAY!

Hi everyone!

Today is reveal day for the Simon Says Stamp February Card Kit: A Colorful Crafty Life and it is jam packed with crafty goodness!


This month's fabulous kit includes the fun new Crafty Friend Stamp Set, some Prima wood embellishments, Studio Katia Cupid's Kiss Crystals, TWO Tim Holtz Texture Fade Embossing Folders, samples of 6 different Daniel Smith Watercolors, a water brush pen, Plus "Twiggy" Curved Blade Scissors (which are great for carrying in your purse or pocket), 12 sheets of Echo Park's I'd Rather be Crafting 6x6 Papers, 5 pieces of Simon's cardstock, 3 of Simon's envelopes, and Simon's Craft Tacky Glue. Wow!

For the card I'm sharing today I wanted to use as many of the elements from the kit as I could:


If you're interested, you can pick up the Simon Says Stamp February Card Kit for $34.99 + shipping. If you'd like to receive this kit and future kits for $29.99 + shipping per month, you can SUBSCRIBE HERE.

Heidi, owner of Simon Says Stamp, has given me an extra Simon Says Stamp February Card Kit to pass on to one of you! Just leave a comment on any or all of my February 2018 Card Kit posts and I'll announce a winner Monday January 29th.

Thanks for stopping by,
Sarah

Supplies (including all kit components) with affiliate links at no extra cost to you: 


Monday, January 8, 2018

Gradient Stitched Borders Cards

Hi everyone!

I hope your week is off to a great start and that you all had a great Christman break. We spent ours fighting colds and cold weather...and have a TON of snow...which is beautiful and has given me the excuse to not venture out of town the past few days.

Today I'm sharing a couple of cards featuring the Simon Say Stamp Stitched Wimbley Borders Dies and a couple of their sentiment dies.


For my first card I diecut pieces of orange, white, and blue cardstock with the wavy stitched die, varying the width of the pieces. The second card features the scalloped stitched die cut with purples, white, and teals. These pieces are all the same width. I adhered the strips to my card front, diecut and adhered the sentiments (listed in the supply list), and added some enamel dots.


These cards are clean and simple and yet the transition of colour adds some depth to the design.

That's it for me today. Stay warm and safe!
Sarah

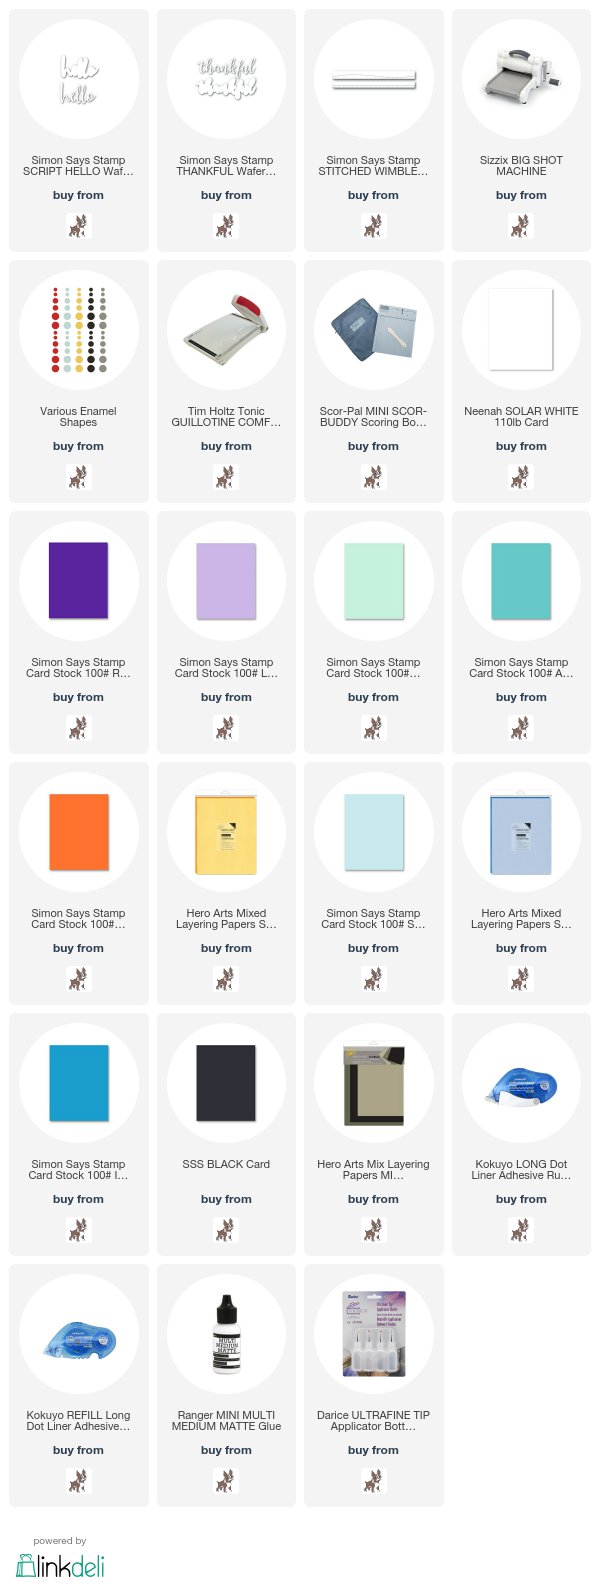
Supplies (with affiliate links at no extra cost to you):

Wednesday, January 3, 2018

Colour with Cardmaking Class

Hi everyone!

Happy New Year! I hope things are off to a great start for you! I'm stopping by today to share a set of cards I made as a sample set for a class I taught at our homeschoool co-op this past fall. I taught this class to a group of 11-12 5th and 6th graders over the course of six 45 minute classes. It was my first time teaching a group and so I wanted to keep things simple as I was learning the ropes. I also had to do what I could to keep costs down since I had a small budget to work with.

Basically I used cardmaking to teach the kids about different rules of colour. They each chose a background stamp they wanted to work with and we got everyone set up with a couple of cards to start with that first week. (I stamped the rest of them at home to save time in class.) Our co-op has lots of pencil crayons in the supply cupboard and many of the kids brought their own from home.

Week one we talked about primary, secondary, and complimentary colours and then the kids coloured their notecards to show what had been discussed:

Primary colours:


Secondary colours:


Complimentary colours:


Week two we focused on warm colours, cool colours, and neutral colours:


Week three we discussed saturation - bold colours and soft colours:


Week four was all about ombre/ gradient and mood:


Week five we focused on the use of a gallon, pint, and cup of colour to create interest:


Some weeks we only focused on one or two cards but the kids could use any extra time to catch up on colouring from previous weeks. Our final week we used to continue with any colouring that still needed to be done and to add our sentiment strips. I brought in my heat embossing supplies to show the kids how it was done and showed them how the white heat embossing really popped compared to just using white ink. I had pre-stamped/embossed the sentiment strips for the kids in order to once again save on time. During the final class I also quizzed the kids on what had been taught, handing out chocolates for correct answers.

In the end the kids had a set of 10 cards (I have a couple extra in my examples) with envelopes in a clear box that they could use themselves or gift to someone else. I also included an A2-sized cheat sheet of everything they had learned.


Supplies (including various background stamps used in class) with affiliate links at no extra cost to you